|
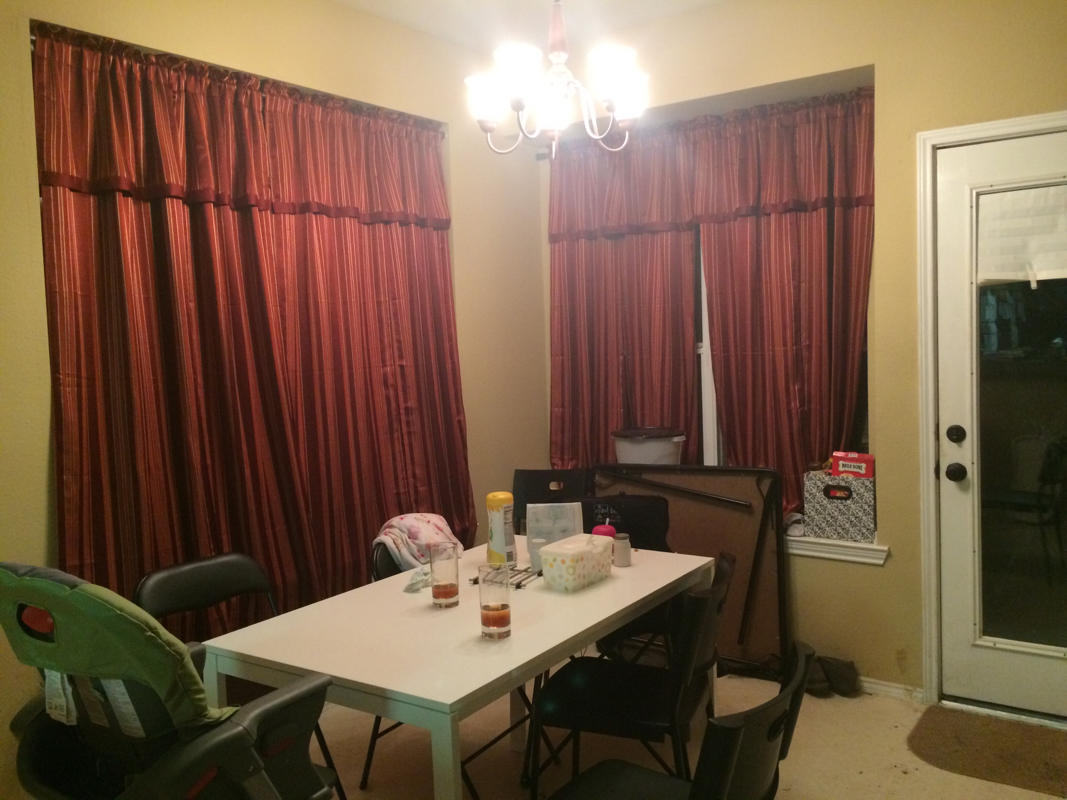
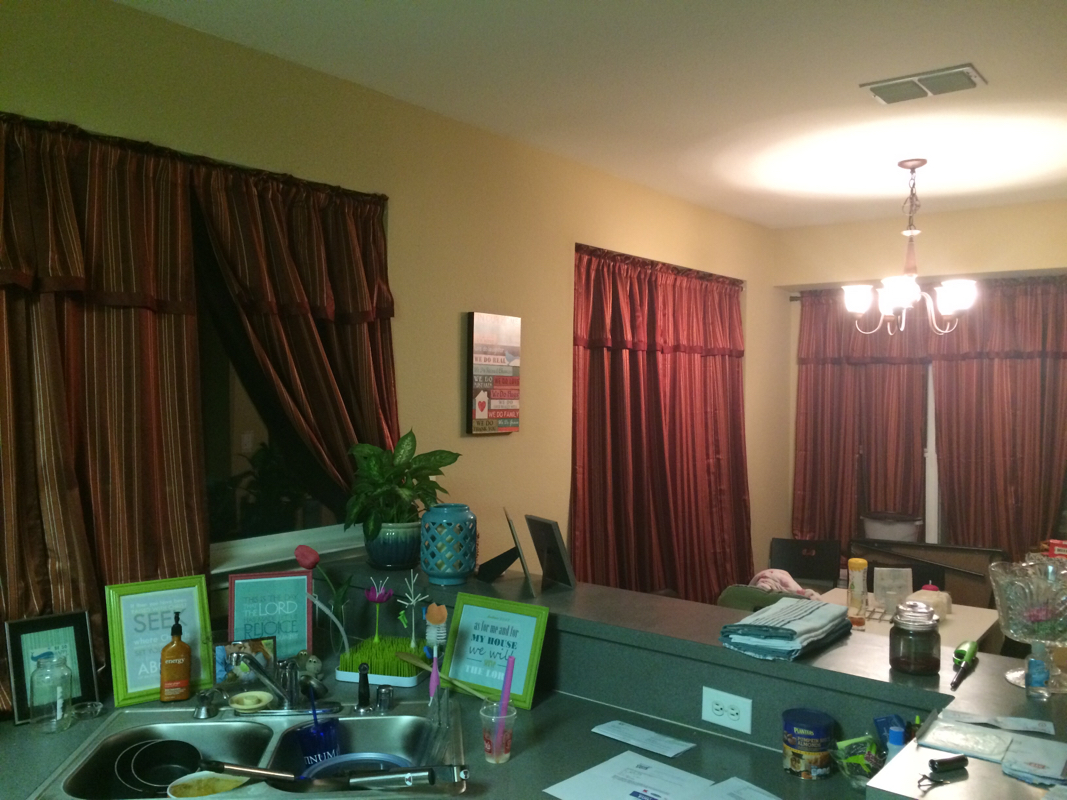
At the risk of sounding totally cheap, I'm going to tell you how I completely transformed our kitchen for twenty-five measly dollars. Yup. $25. (Not including the things I already had.) 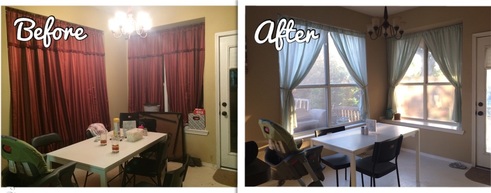 We are currently renting our house from my parents. When my parents moved out, they put these curtains in the kitchen so there would be something over the windows while the house was vacant and being shown to potential buyers. Blah, blah, blah, time goes by, things happen, then we moved in early last year. In our previous home, there were no substantial windows in our kitchen. Just a small one over the sink that had blinds and didn't require a curtain, so we had nothing to replace the red fortune teller booth curtains left in this home and no budget to get any. So I left them. They match n.o.t.h.i.n.g. that I own, but I left them because the windows needed to be covered and they were sufficiently doing that job. Here is what our kitchen looked like last night:
Sorry, mom! I love you! We have really been wanting to fix this place up to make it more our style and presentable for company, so thinking of new ways to do so with very little money has been occupying a lot of my mind lately. This week, my sweet Memaw sent me some money for taking pictures at her wedding earlier this month. I knew exactly what I wanted to do with it! I had picked out some perfect curtains for $22 per panel on Amazon and was reluctantly about to place my order when I remembered seeing a tip on Pinterest about using bedsheets as curtains. Boy did that get my creative little brain going. To Walmart! After a lot of browsing, discussing with the hubby, and fishing the grocery list out of my 7 month old's mouth, I finally decided on the perfect sheets for my curtains! 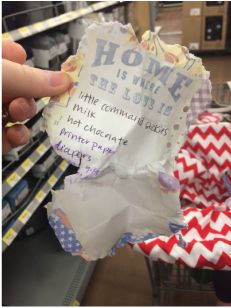 Mmmmmm.. Paper! Since there are three windows, I needed six panels. However, my store only had five. Until I can get my hands on a sixth one, I decided to go ahead and make it work with just the five for now. These are just twin size flat sheets. They are $5 each, y'all. Five. Dollars. That's less than a meal at most fast food places. Score. 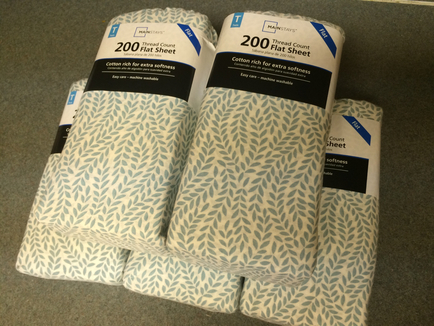 And you can't have curtains without tie backs. I just happened to have this stuff on hand to whip something up with. Rope, jute twine, and little command hooks. 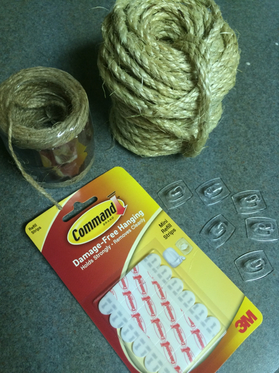 To make the tie backs, just cut the rope to the length you want. I wanted to braid mine, so I cut 3 pieces for each tie back, so 18 pieces total. I hot glued the ends together on one side, then wrapped it with the jute, making a loop to hang it with, hot gluing everything in place. 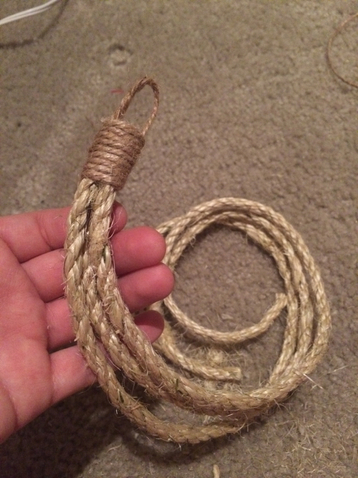 Using a highly dignified method, I braided the three pieces together, then finished the other end the same way as the beginning. 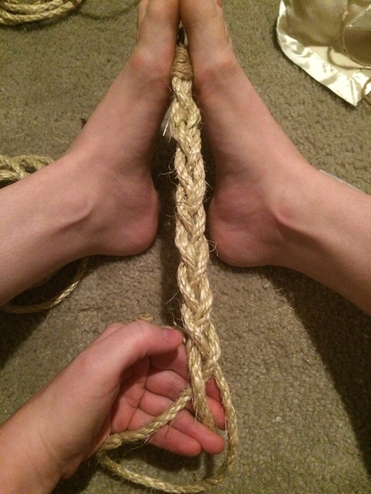 Do that to all of them. If you don't want them braided, you can just wrap the jute the same way around a single piece of rope or however you want to do it. The result: 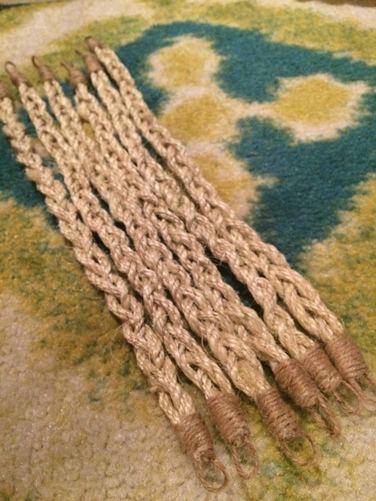 Yay tie backs! Now for the main event: the curtains! I was going to fold over the top and stitch to create a casing for the curtain rod to go through, but once I opened the sheets, I noticed the top hem was totally big enough to fit a curtain rod through. So I cut an opening in the back on each side, making sure to only cut the back layer. I found it easiest to start the hole with a seam ripper, then finish it with scissors.  Cut riiiiiiiiiight there. Then I zigzag stitched over that raw edge just because I'm OCD and don't want any possible fraying down the road. 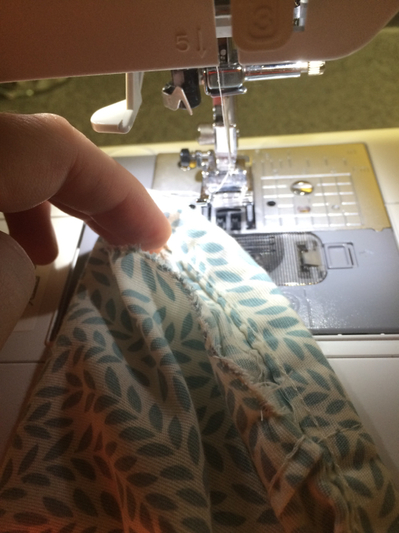 After the tops of all the panels were done, I hung them and pinned where I wanted the bottom to be. I used the edge of the windowsill as a guide. 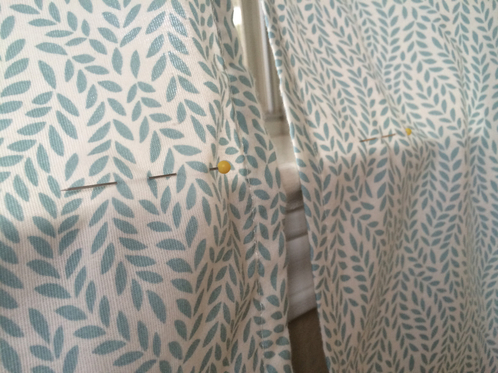 Pin pin pin pin pin Now just to hem up the bottoms. I laid out each panel and ironed the bottom crease. Then I cut 2 inches past that to create a 1 inch hem. 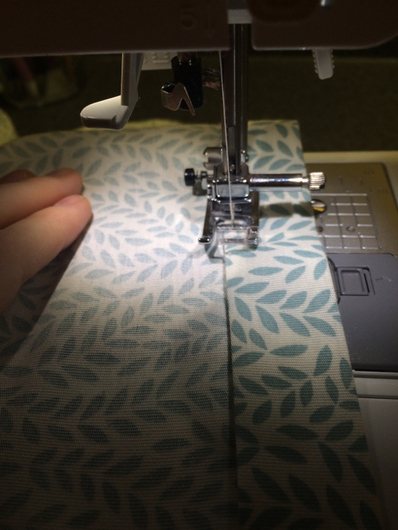 Whirrrrr All done!! To say I am happy with the final product is a serious understatement.  As soon as I get another sheet, the window over the sink will look the same as the other two. This is my "making it work in the meantime" curtain. 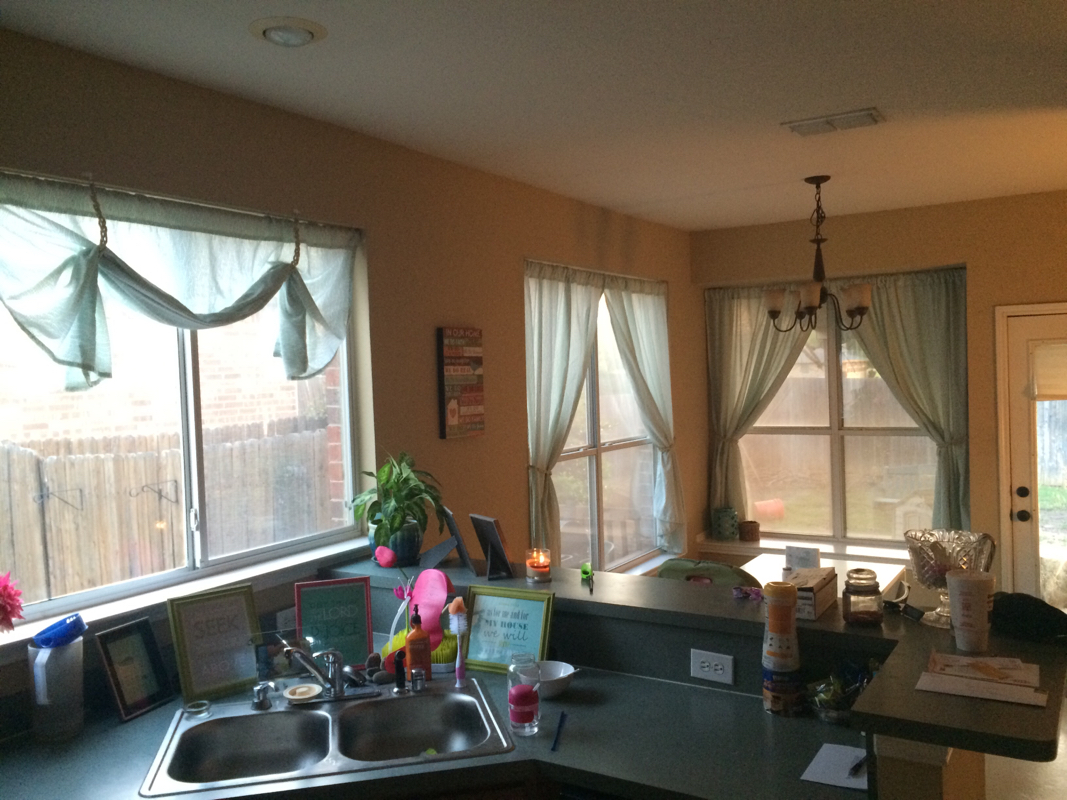 Why didn't I think to move the dishes out of the picture? Meh. Oh well. You're all humans too! Here is a close up of the tie backs: 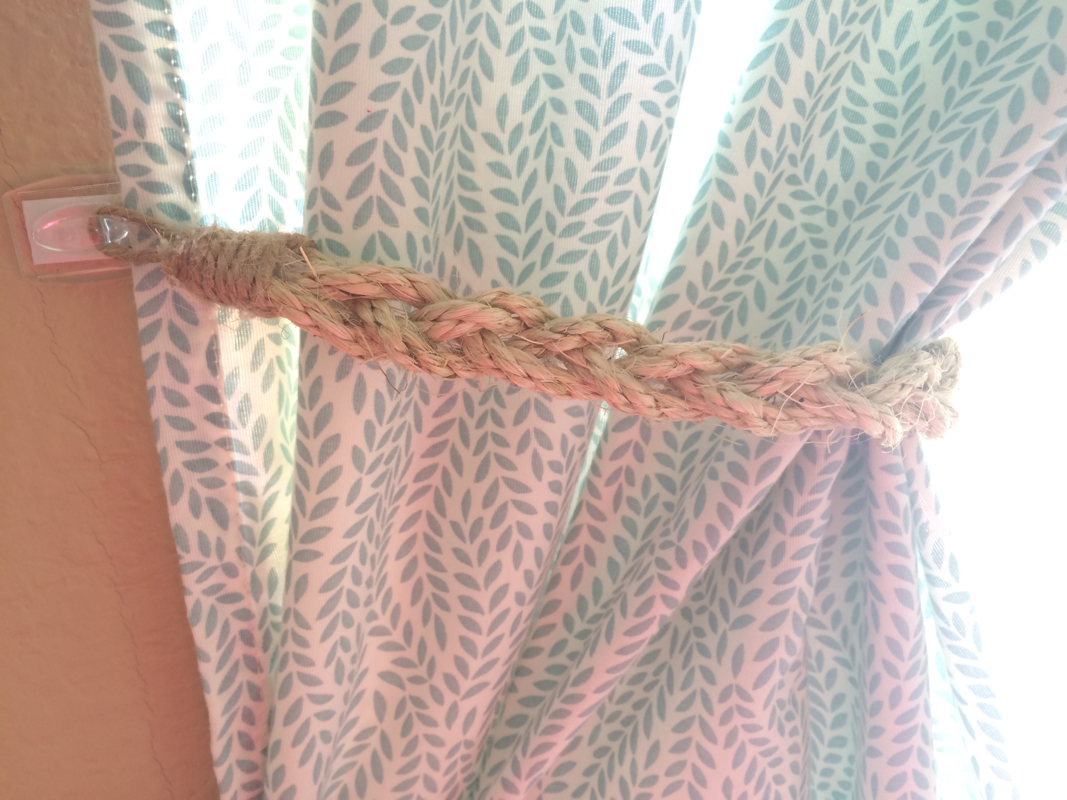 I am so beyond thrilled with this transformation!! Best $25 ever spent. Ever. Before: 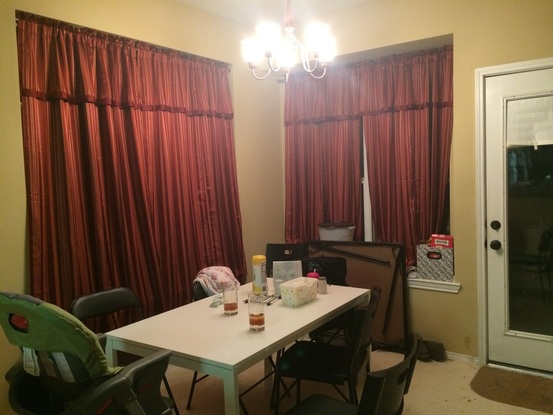 After: 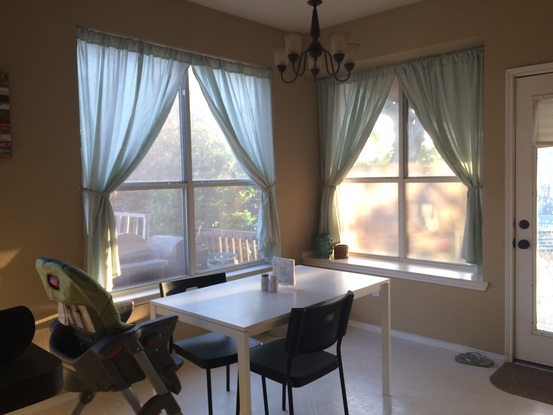 Now all that's left is to get a real dining table with more than two chairs... 😁
Happy crafting!!
1 Comment
Carolyn
4/21/2015 03:43:21 pm
Cute and airy! It really lightens up the room. And if you ever have to throw a carnival, you're set. LOL. For a few years, my girls shared a room and I had bought inexpensive but CUTE & GIRLIE floral/ribbony bedding in pink & light blue on white. The room had a thin strip of wood as a chair rail, so I painted the lower wall light blue, chair rail slightly darker shade, then stenciled just above it so I didn't have to do ladders. I found a stencil mimicking the bedding print and used that $0.50-a-bottle cheap acrylic paint. THEN I had one narrow but tall window. Got out a white sheet once used as a costume, cut & hemmed to fit, and stenciled it, too. Same paint. I think I made tiebacks out of the scraps. So cute. Leave a Reply. |

AuthorMy name is Casey, I am a wife and mother, and I think you should always believe that something wonderful is about to happen. Archives
April 2017
|
 RSS Feed
